Prerequisites
Before setting up the Microsoft Teams integration, ensure you have:Relevance AI account
Microsoft Teams access
Sufficient permissions
A Teams channel or chat
Step 1: Connect the integration
- Go to Integrations & API Keys in the sidebar of your Relevance AI dashboard.
- Click Microsoft (Teams, Outlook, SharePoint, OneDrive) and then click Add Integration.
- In the pop-up window, sign into your Microsoft account and approve the requested permissions.
- Once complete, you’ll see a green Connected status indicator in Relevance AI.
Step 2: Install the Relevance AI app in Microsoft Teams
After connecting your Microsoft account, you need to install the Relevance AI app in Teams so your agents can interact with channels and chats.Search and install
Add the app to channels and chats
- Channels
- Group chats
- Navigate to the channel where you want your agent to work
- Click the + icon at the top of the channel to add a tab or app
- Search for Relevance AI in the app picker
- Select the app and click Save
Set up Microsoft Teams as a trigger
You can configure your agents to automatically respond to Teams messages by setting up a trigger. Your agent will process messages in real-time as they are posted. Important: Teams triggers activate only on new messages. They do not trigger on new chat creation, group creation, or webhooks.- Navigate to your agent in Relevance AI and go to the Triggers section.
- Click Add Trigger and select Microsoft Teams from the list.
- Choose the Microsoft account you connected, then select the Team and specific channel or chat you want to monitor.
- Optionally, set up keyword matching to filter which messages activate your agent. Leave the keyword field empty to trigger on all messages, or enter specific keywords separated by commas.
- In the Core Instructions section, write a prompt that guides how your agent should respond — including its role, tone, and when to respond.
Agent Notifications
Setting up Teams notifications
- Navigate to your agent and click the Build tab
- In the left sidebar, click Escalations
- Under “Agent Notifications”, click Add agent notification
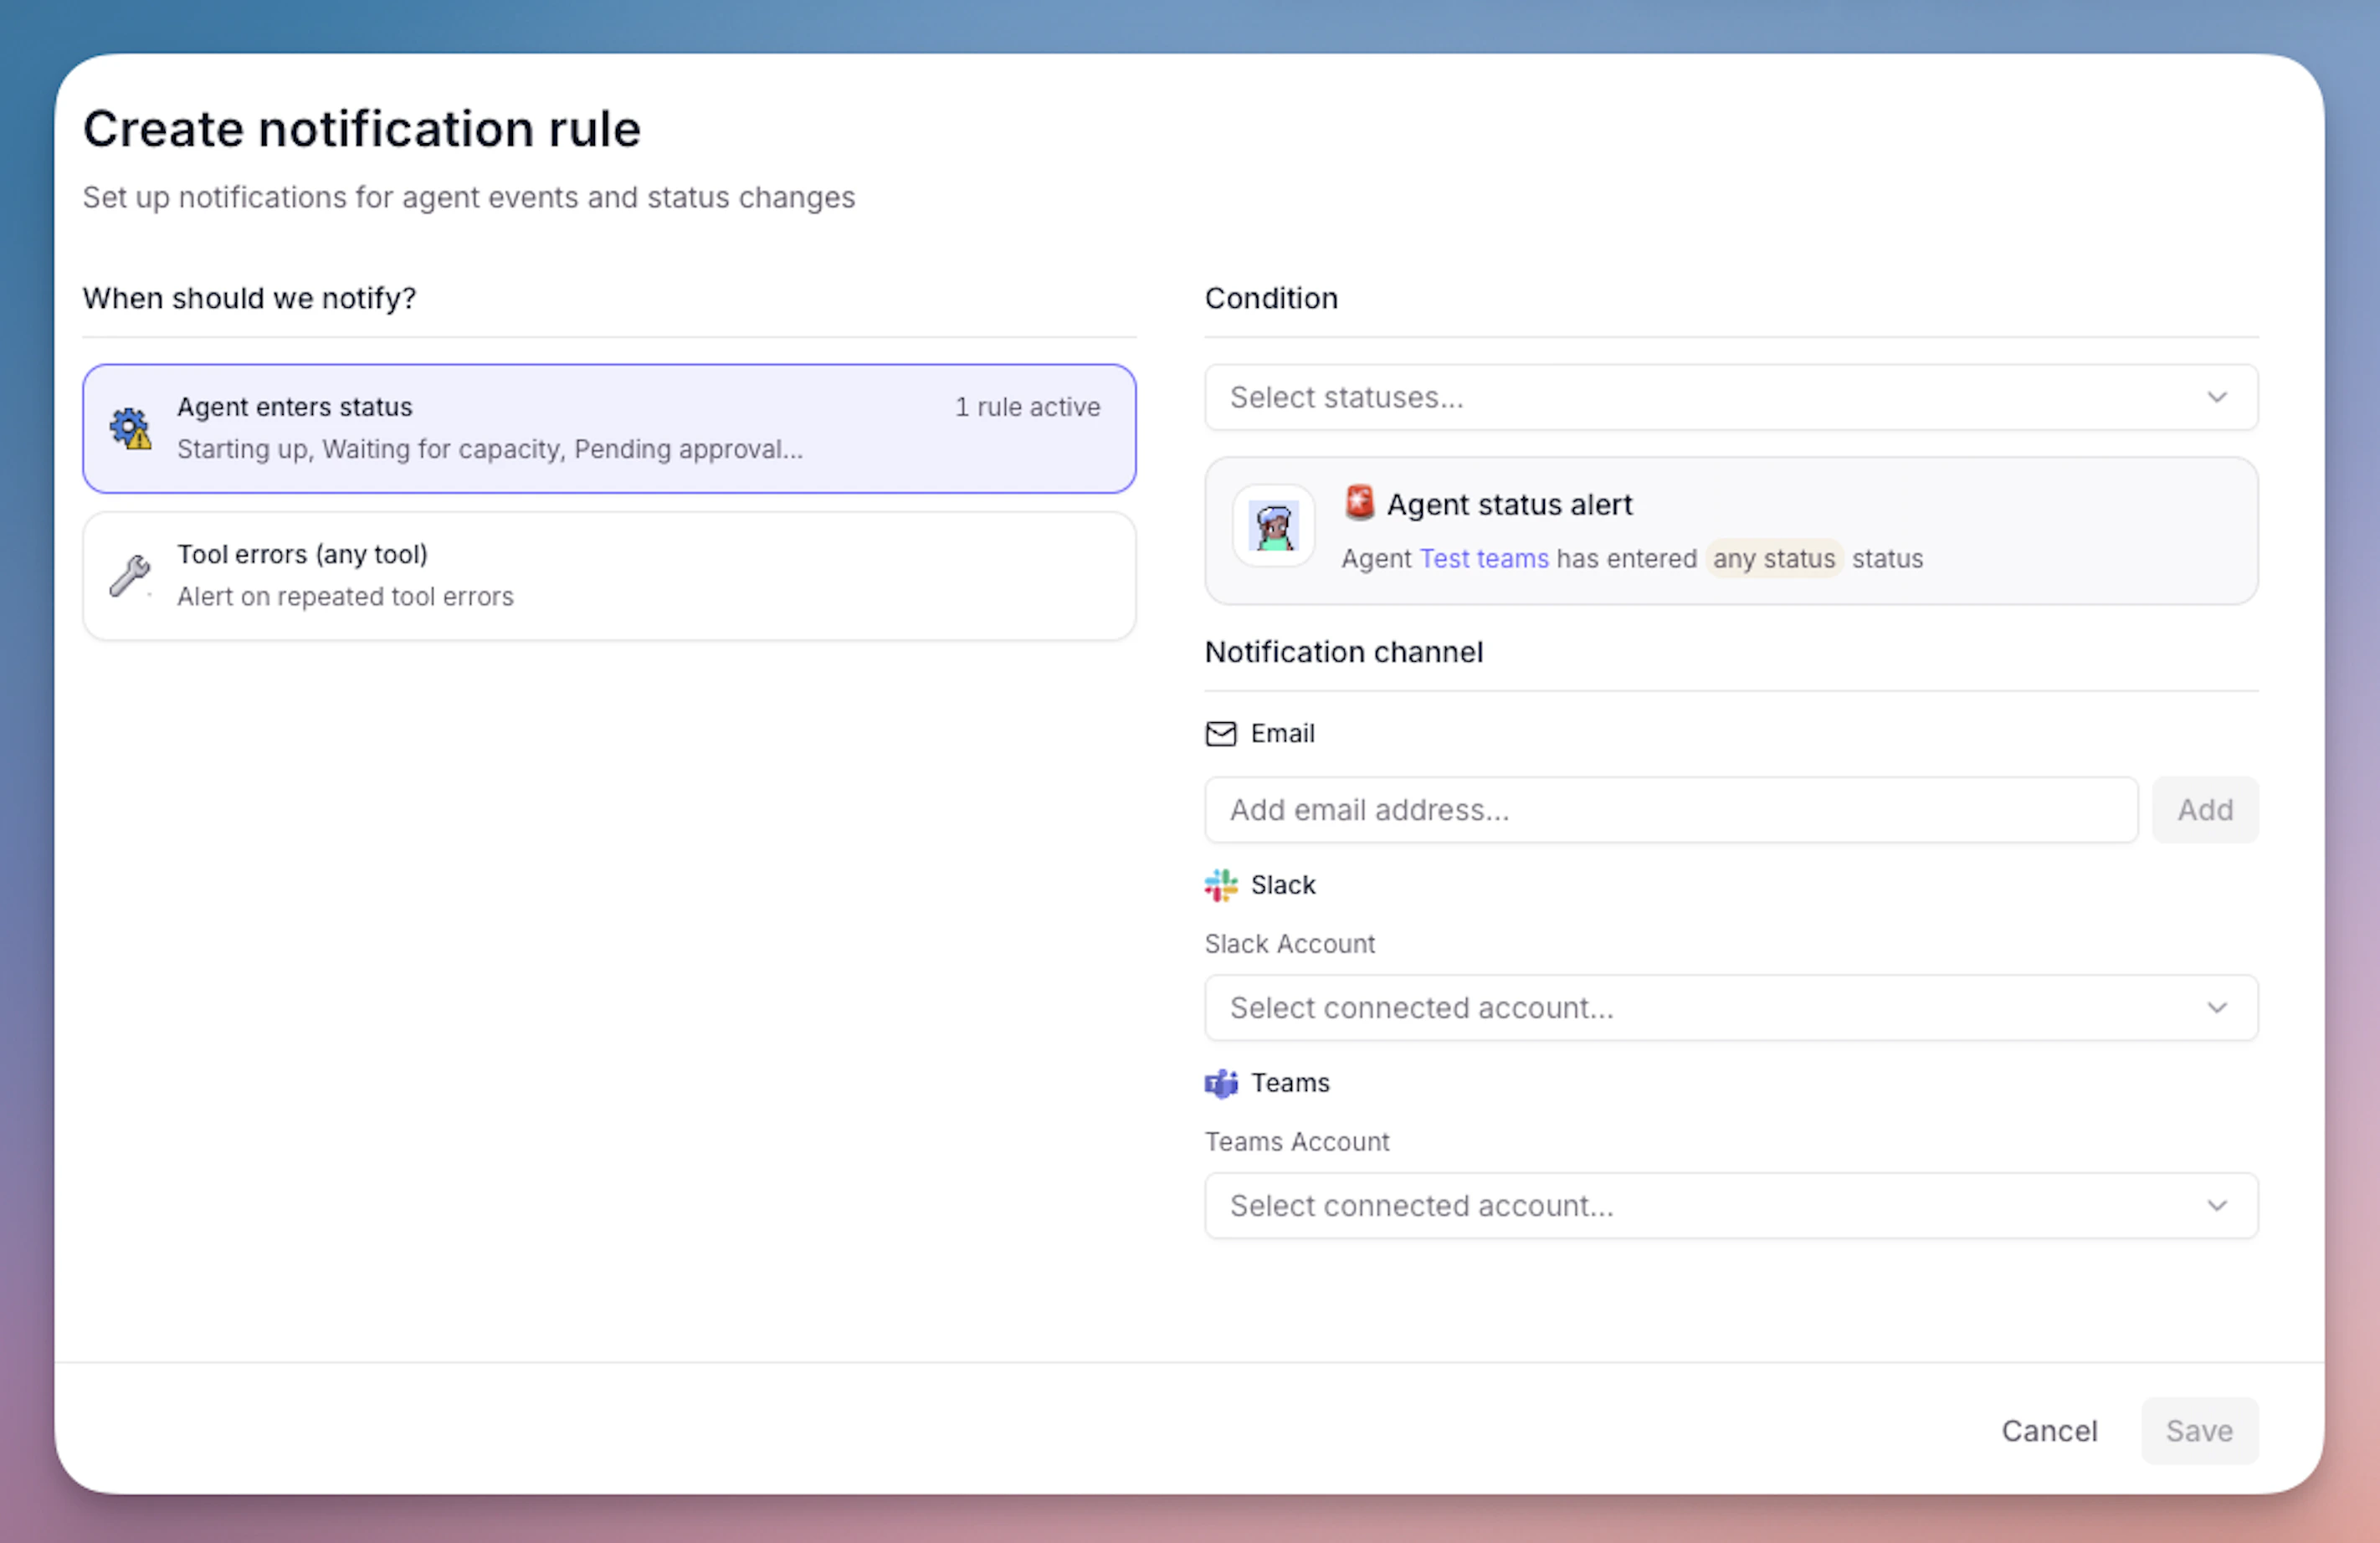
- Configure your notification settings:
- Select Microsoft Teams as the platform
- Choose the notification trigger:
- Agent enters status - Select specific task statuses (e.g., “Running”, “Completed”, “Failed”)
- Tool errors (any tool) - Get notified when any tool encounters an error
- Select a Microsoft Teams account that you have previously connected, or add a new Teams account
- Select the Teams channel where you want to receive notifications
- Click Publish changes to save your notification configuration
- Test the notification by running your agent - you should receive a notification in your selected Teams channel based on your configured triggers
What you’ll receive
When a notification is triggered, you’ll receive a message in your Teams channel with:- Agent name and status
- Task details and context
- A link to view the full task in Relevance AI
- For tool errors: information about which tool failed and why
Tool steps for Microsoft Teams
Send Channel Message
Send Chat Message
Create Channel
List Channels
List Shifts
Microsoft API Call
Example use cases
IT support bot
Onboarding assistant
Customer success agent
Sales pipeline assistant
Admin consent & permissions
Enterprise organizations often require administrator approval before users can connect third-party applications or install apps in Microsoft Teams. If you see “Need admin approval” or “This app requires admin approval”, follow the steps below.- OAuth connection approval
- Teams app installation approval
- Copy the consent URL that appears in the Microsoft login window.
- Forward the URL to your Microsoft 365 admin with a request to grant consent, including what Relevance AI is and how it will be used.
- Your administrator will open the URL, review the requested permissions, and grant consent on behalf of the organization.
- Return to Relevance AI and retry the Microsoft integration connection.
Frequently asked questions (FAQs)
Who supports the Microsoft Teams integration?
Who supports the Microsoft Teams integration?
What is Microsoft Teams and why should I use it with Relevance AI?
What is Microsoft Teams and why should I use it with Relevance AI?
What's the difference between connecting my Microsoft account and installing the Teams app?
What's the difference between connecting my Microsoft account and installing the Teams app?
- OAuth connection (in Relevance AI): Authenticates your Microsoft account and grants Relevance AI permission to access Microsoft services
- App installation (in Microsoft Teams): Installs the Relevance AI app so it can interact with channels and chats
Why don't I see my Teams channel in the dropdown when setting up a trigger?
Why don't I see my Teams channel in the dropdown when setting up a trigger?
- App not installed: The Relevance AI app must be installed in Teams and added to the specific channel
- User not a member: The Microsoft account you connected must be a member of the channel
- Permissions issue: You may not have sufficient permissions to access the channel
- Admin approval needed: Your organization may require admin consent
Can I connect multiple Microsoft accounts?
Can I connect multiple Microsoft accounts?
What permissions does the integration require?
What permissions does the integration require?
Do triggers work for private messages?
Do triggers work for private messages?
Can I filter which messages trigger my Agent?
Can I filter which messages trigger my Agent?
How do I prevent my agent from sending messages automatically?
How do I prevent my agent from sending messages automatically?
Can my agent access files shared in Teams?
Can my agent access files shared in Teams?
What's the difference between the pre-built tool steps and the API Call tool step?
What's the difference between the pre-built tool steps and the API Call tool step?
Are there rate limits for Microsoft Teams API calls?
Are there rate limits for Microsoft Teams API calls?
429 Too Many Requests status code when limits are exceeded.How do I remove the Microsoft Teams integration?
How do I remove the Microsoft Teams integration?
- Go to the Integrations & API Keys page from the sidebar
- Find Microsoft (Teams, Outlook, SharePoint, OneDrive)
- Click ”…” on the account you want to remove
- Click “Remove” and confirm